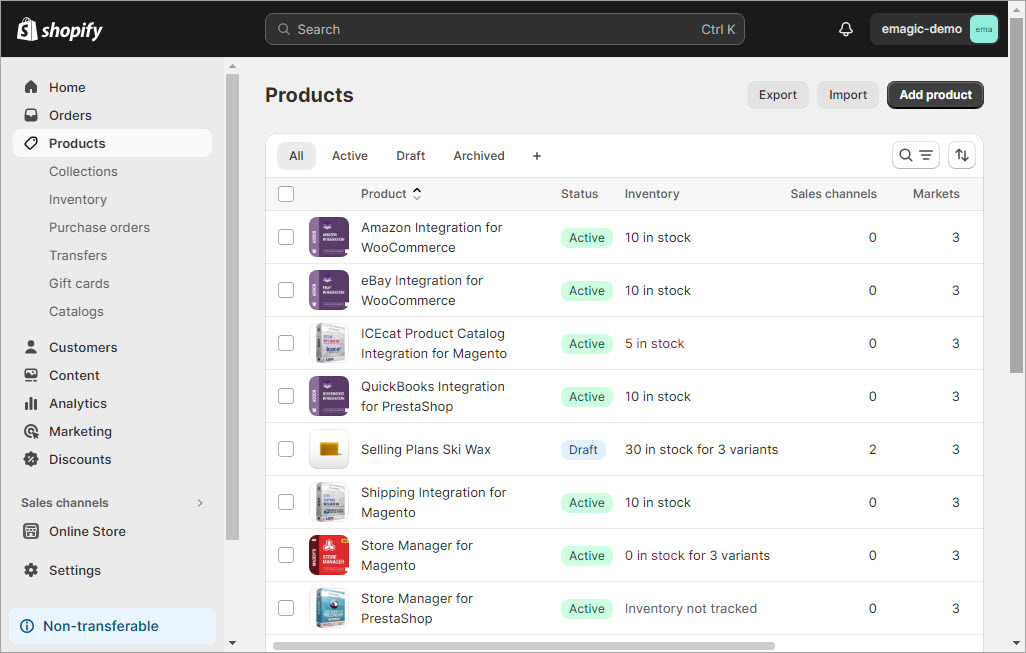
Let’s go!
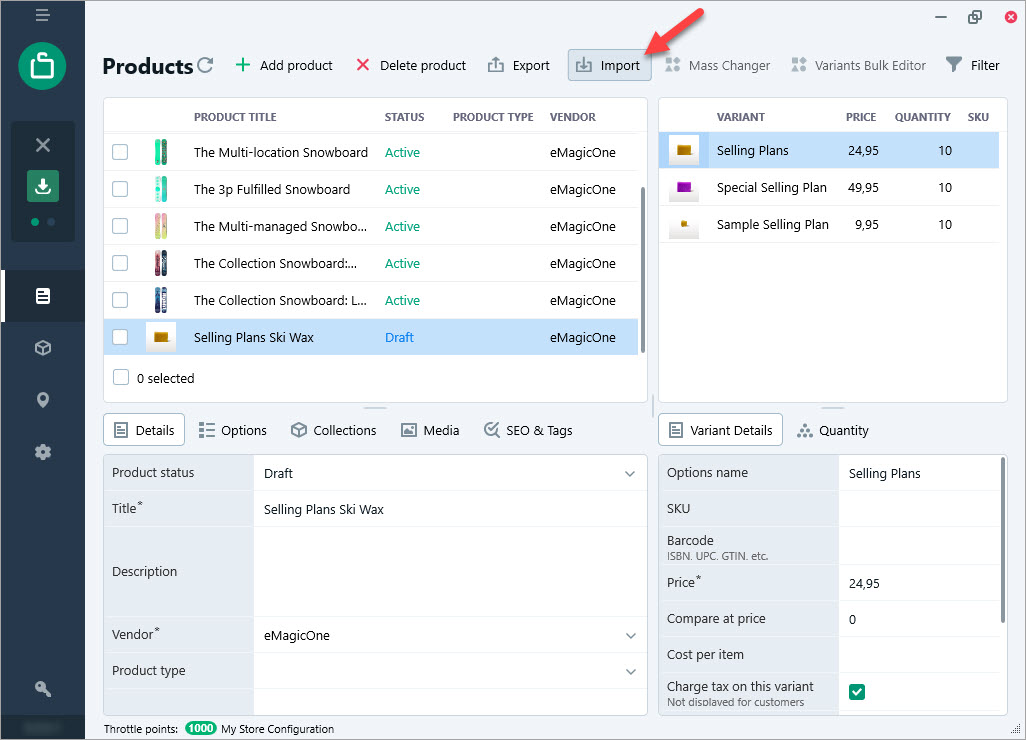
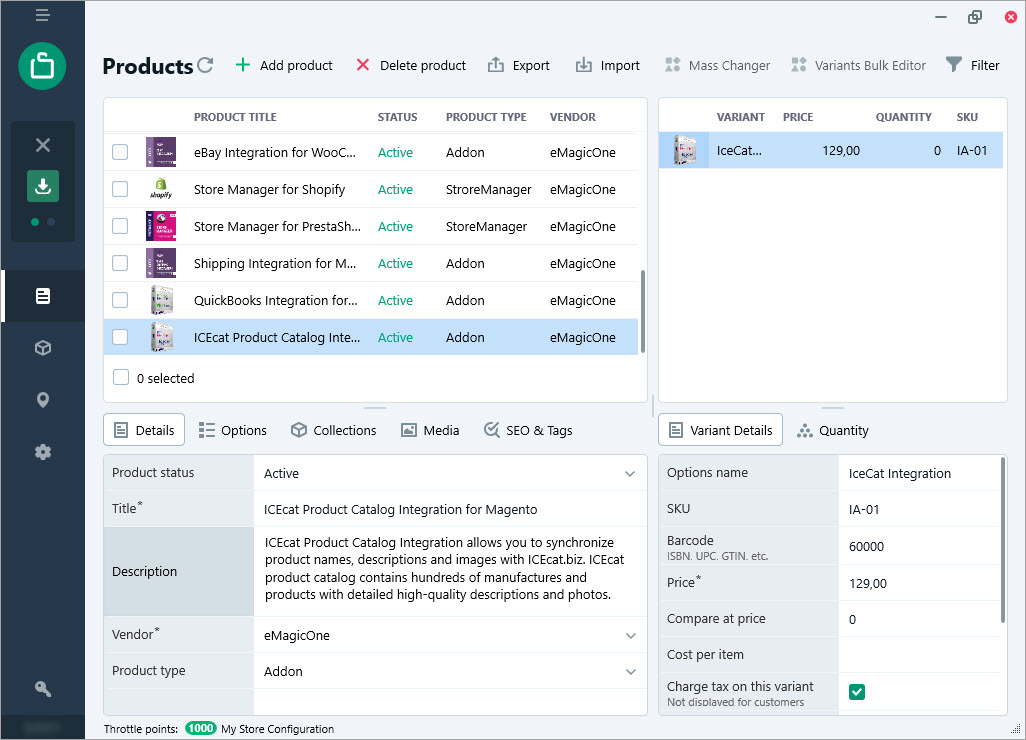
Step 1: Open Store Manager for Shopify on your computer. In the left menu, navigate to the “Products” tab. Click on “Import” to open the smart Import Wizard.
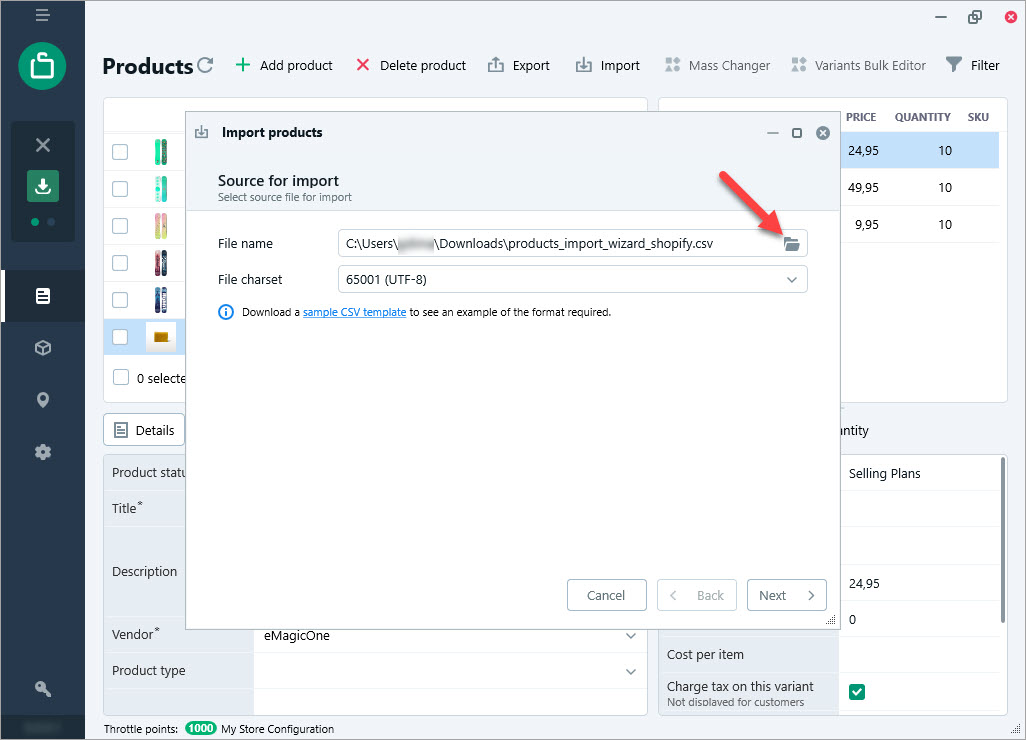
Step 2: Click on the “Browse” button to locate the .csv file on your computer that contains the product information you want to import. Store Manager allows downloading a sample file to organize products in the .csv file. After you choose the file, hit “Next” to proceed.
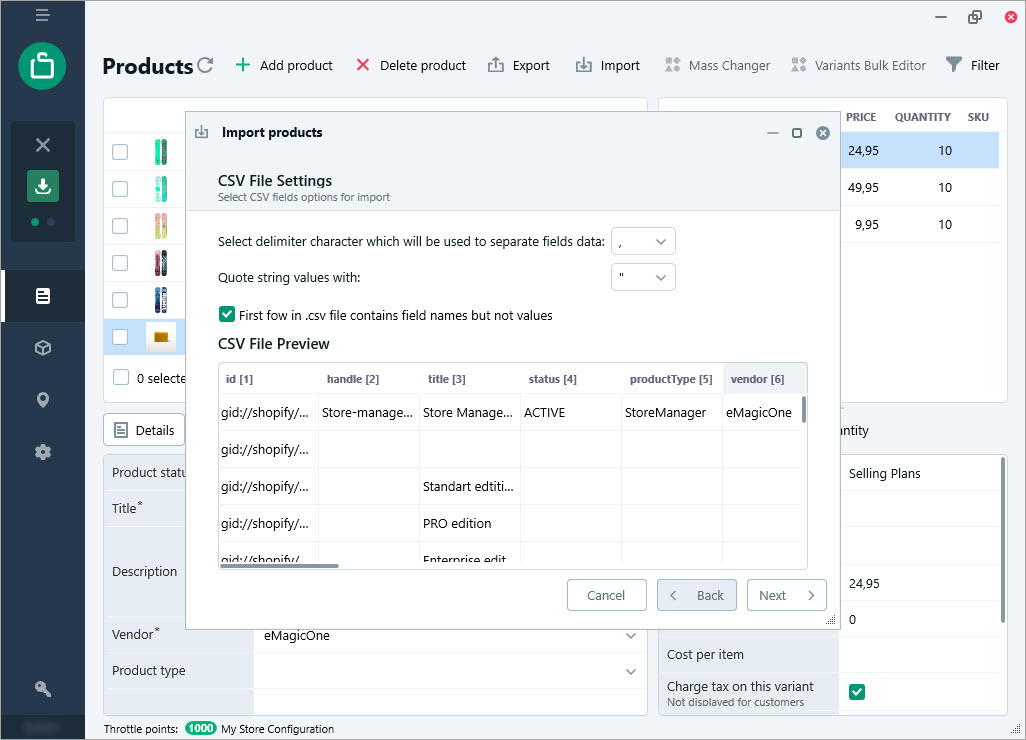
Step 3: Select delimiter settings for a .csv file. Common delimiters include commas, semicolons, or tabs. If your file has a header row, ensure the “First Row Contains Field Names” box is checked. Click “Next” to proceed.
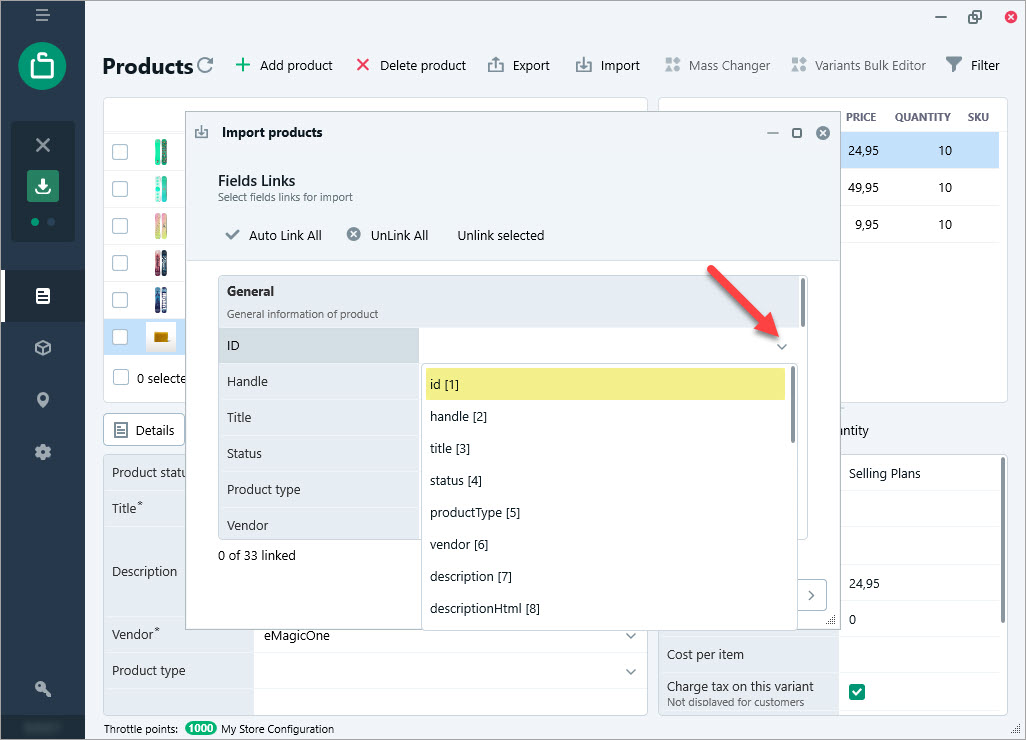
Step 4: Linking file columns to database fields. Store Manager will automatically attempt to match columns from your file to the corresponding fields in the Shopify database. Review the automatic mapping, and if needed, adjust the links of the file columns onto the appropriate database fields manually. Once everything is ready, click “Next” to move to the next step.
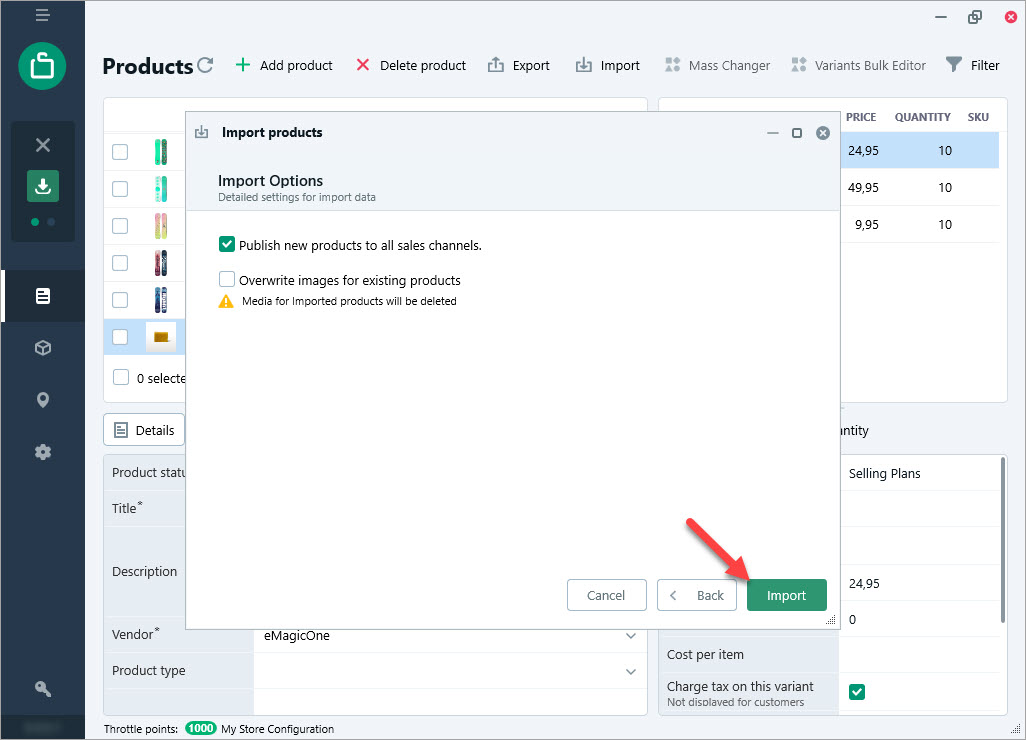
Step 5: Specifying import options. Choose whether you want to add products to all sales channels or only to specific ones. Decide whether you want to overwrite images for existing products. Hit “Import”.
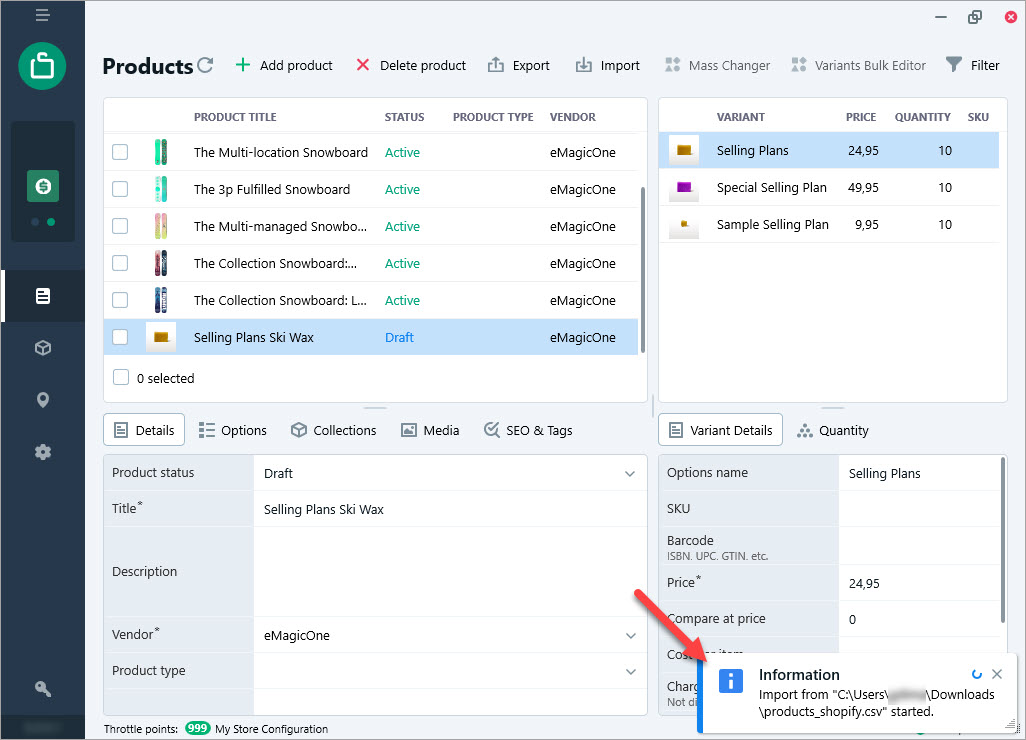
Step 6: After configuring import options, a confirmation window about the start of the import process will appear in the product grid.
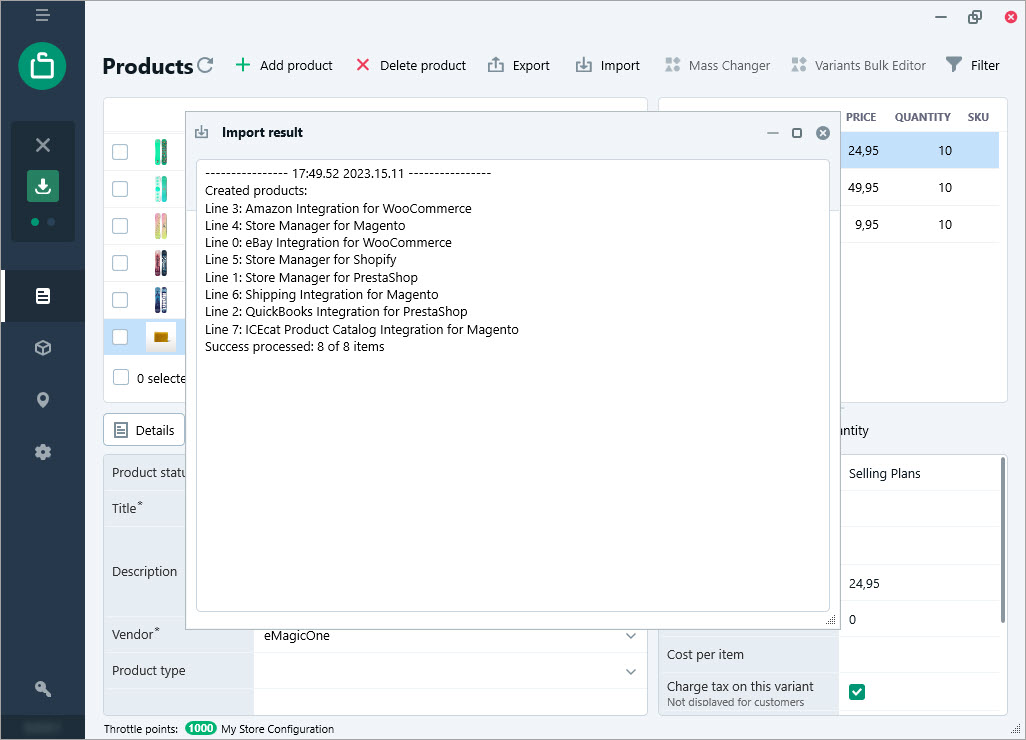
Step 8: Once the import is complete, a summary window will display the number of successfully imported products.
That’s it!
Now you can verify that the imported products are now visible in your product catalog in Store Manager.
Additionally, visit your Shopify store’s admin dashboard and navigate to the product section to confirm that the newly imported products are displayed on the storefront.
